
Drawing is still important for designers and is one of the most important skills that employers will look for in your portfolio. Good drawing skills are at the heart of good design, so start your journey to greatness here with the right tools:
- ROTRING Drawing Board with parallel motion and 45° set square.
NB: For Cambridge IGCSE Design & Technology students:
All candidates taking this paper should have access to the following basic drawing equipment in the examination:
- A3 drawing board and tee square (or parallel drafting device)
- 30°/60° and 45° set squares
- 180° protractor
- Pencil compass
- 300mm rule
- Drafting pencils
- Coloured pencils
- Eraser
So if you buy a drawing board – YOU ARE ALLOWED TO USE IT IN THE EXAMINATION! This is particularly useful for the Graphics paper.

Don’t worry about trying to attain a great development sheet of drawings like the one above. This may well have been assembled from many other sketches – all traced, and rendered (we don’t “colour-in”, we “render” colour and shade!), onto the same sheet. The arrows show the flow of development and the hand written text (annotations) shows spontaneity and explain your thought processes.
All great designs start with an idea – whether that’s scribbled onto the back of a beer mat or an envelope – mastering the ability to draw your ideas, freehand, will allow you to quickly and efficiently communicate your ideas to your friends, your team or even to your clients.
First Steps
You do not need to be a great artist to be a great designer – however learning the basics of technical (ie: using tools such as sharp pencils, rulers, 30/60 triangles etc) drawing will be very beneficial. Technical drawing refers to the FORMAL drawing of objects in: 2 Point Perspective, Isometric Projection and 3rd Angle Orthographic Projection. FORMAL vs FREEHAND.
Learn the formal, technical, way first: use a ruler, a sharp pencil and the correct angles (30 degrees is the standard for Isometric) for ALL production drawings. Use the freehand style (ie: without using rulers etc) for DESIGN SKETCHING whilst completing the IDEATION and DEVELOPMENT stages.
TECHNICAL – Isometric Drawing
Download and print this paper to help you. Print it in B&W and then put behind thin paper (such as layout paper) to guide your freehand drawings).
- Blue Isometric Paper (PDF)
Your images cannot just float on a white page – they’ve got to be anchored by a horizon line and given an appearance of solidity through the use of shadows.
TECHNICAL – Isometric shadows
Once you can draw in pencil, move onto drawing in pen and add some flourish with a couple of markers. I learnt with Magic Markers, however you may not be able to get these any more so ask for Letraset, Copic or similar pens. I’ve often find arb packs of markers in TK MAXX so always check out the stationary section if you ever get dragged there by your parent or spouse! These newer pens have both a broad and a fine tip for detailed work.
TECHNICAL – Isometric ellipse:
You can also use templates and drawing tools for this.
TECHNICAL – 2 Point Perspective:
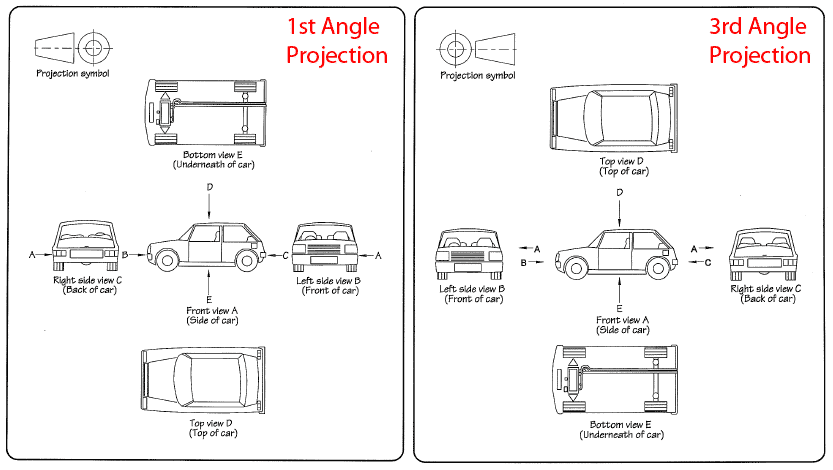
TECHNICAL – 3rd Angle Orthographic Projection
The difference between 1st Angle and 3rd Angle Projection (Simplified)
Drawings are great for communicating your ideas to clients etc, however, they are not great for production purposes. For this you’ll need an Orthographic Drawing – ie: a drawing that shows at least 3 views (elevations) of an object. The UK standard is called a 3rd Angle projection and is outlined in the exercise below. This is a standard production drawing however a “real” production drawing would include scale, dimensions, a title and a date (this is for version control).
If you use CAD to draw your designs in 3D then there is usually the option to output (print) your design as a orthographic projection automatically.


Tech Drawing in Fusion 360
Basic Marker Rendering
Sketchdrive
FREEHAND – Lesson ONE: Two Point Perspective
FREEHAND Lesson TWO: Circles and Ellipses
Do NOT be afraid of CONSTRUCTION lines!
FREEHAND Crating – the benefits of using BOXES
FREEHAND Building 3D Sketches – Ortho to 2PP
FREEHAND Sketch to Presentation with markers
FREEHAND – How to COMMUNICATE – Making our thoughts and ideas clear using ANNOTATION
FREEHAND – How to work QUICKLY and EFFICIENTLY – using photocopies
FREEHAND – Sketching Hands
FREEHAND – Using SHADING to add information to your design
FREEHAND – Making your work POP off the page!
These sheets, from the DESIGN AND TECHNOLOGY ASSOCIATION, will help you produce great perspective drawings.
- Perspective guide sheets (PDF)
The white lines show you 3D space on the sheet. Sketch freely within this.
When you’ve finished your drawing, photocopy the sheet and the white lines and faint background will disappear. You can then add colour or continue drawing on the copy, safe in the knowledge that if you mess up you can copy it again and have another go.
The sheets have been designed to cover a range of different design activities:
- For 3D objects – products, craft items, furniture – a 3 point perspective grid
- For interiors and architecture – a 1 point perspective grid
- For planning animations, films, product use stories–a story board grid
- For cars, trains, boats, interiors, furniture – a 2 point perspective grid
- For space planning, interiors, architecture and large products – a 3 point perspective grid
There are also sheets on ellipse construction and 3 point perspective construction.
- Product rendering in PhotoShop (YouTube)
- Design Sketching (Vimeo)
- Illustration_and_presentation (Marker Techniques)
Further info:
- Graphics_Perspective
- Graphics_Rendering Texture
- Graphics_Rendering Tone
- Train Crating Exercise
- A3 Isometric Paper
- BBC Bitesize Revision
- Sketchbook – https://amzn.to/3G11MLb
- White Pencil – https://amzn.to/3C6mgBo
- White Pen – https://amzn.to/3Xs8UrK
- Black fineliner – https://amzn.to/3vkRUqP
If you want to develop your drawing skills – download and work through this simple booklet:
- Graphics Booklet (PDF)
To improve you need to sketch, sketch and sketch some more:
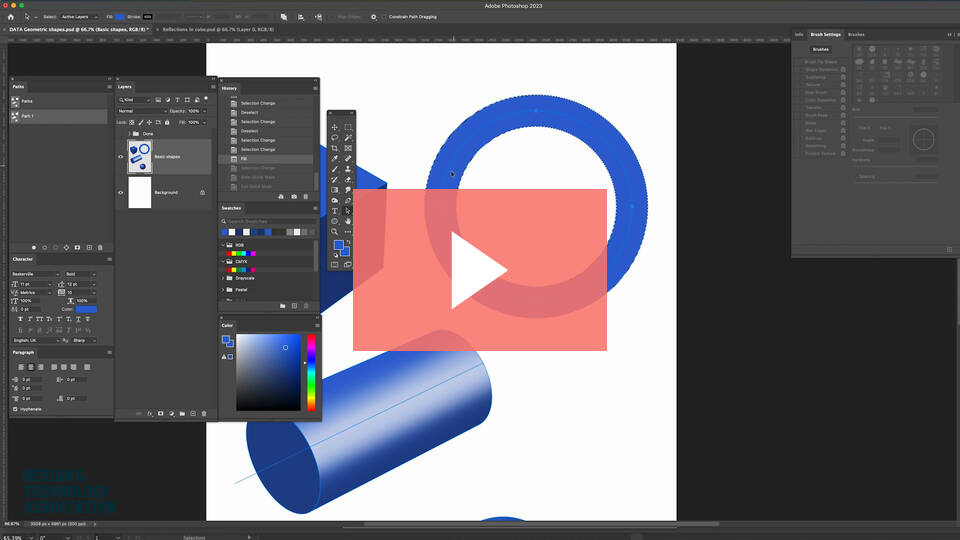
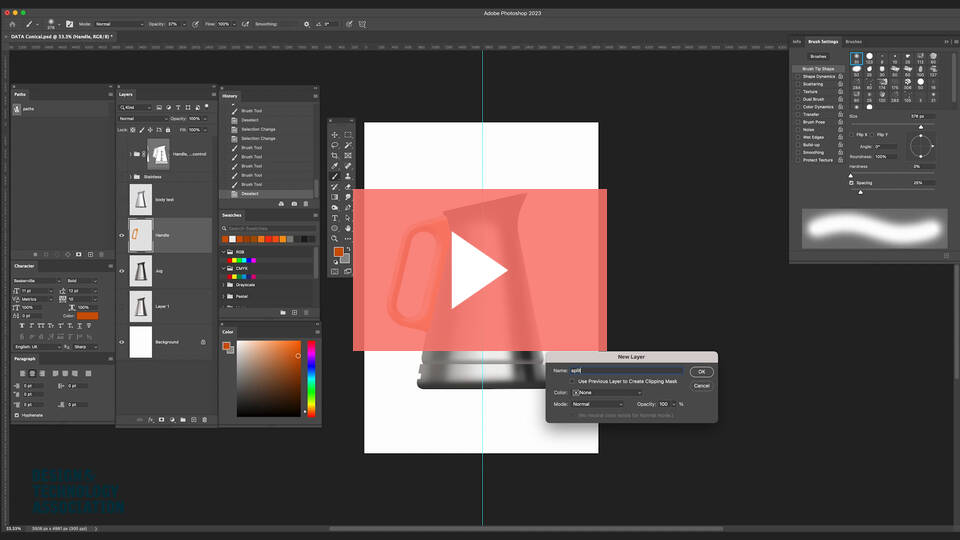
Digital Rendering
illustrator_1_-_photoshop_examples_-_general_shapes (1080p).mp4
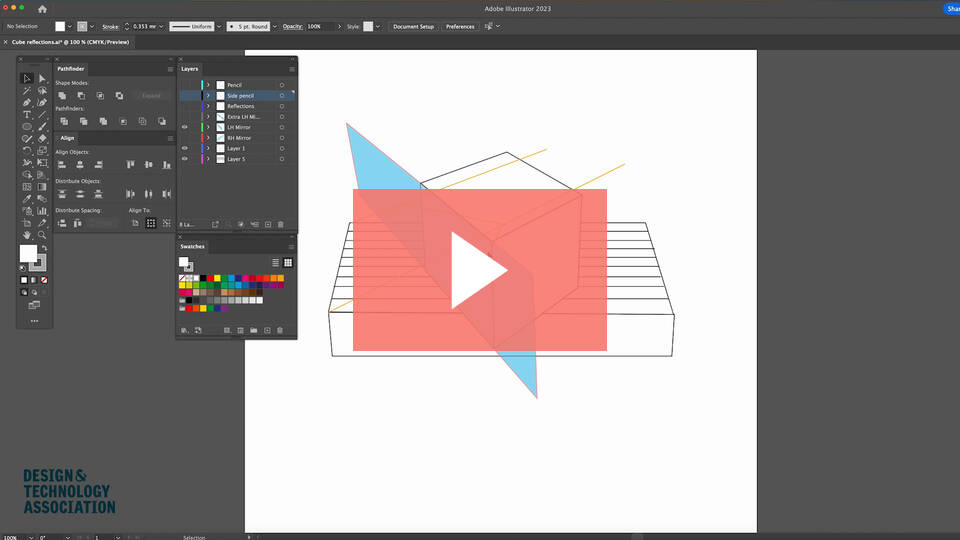
illustrator_2_-_photoshop_examples_-_cube_on_surface (1080p).mp4
