
3D modelling is the future for DT education in the UK!
I’ve just bought my own FDM (Fused Deposition Modelling) 3D printer (Ender 3 v.2 from Banggood for 200 GBP! – defo no brainer!) and my son in law has bought an SLA (Stereolithography – a completely different technology to FDM that uses resin and UV light ) 3D printer (900 GBP) prints are a lot more accurate but initial set up is a bit trickier (and a lot more expensive!). FDM printers use a range of THERMOPLASTICS that are laid down in layers via a heated nozzle onto a warm (60 degrees) glass bed. Plastics (Polymers) such as PLA, PETG and ABS.
Both printers use an .STL file – this is your 3D drawing file – this then gets “sliced” in a second programme such as CURA that gives you the G-code that the 3D printer turns into lines of printed plastic. Slicing involves turning your 3D object into a multitude of “layers” that then get printed.
Many students start drawing in 3D with Google SketchUp or TinkerCad however you will soon find that programmes such as Fusion 360 offer much more flexibility and modelling power. I am biased though! I tried learning CREO and SOLIDWORKS but the knowledge didn’t stick however F360 has!
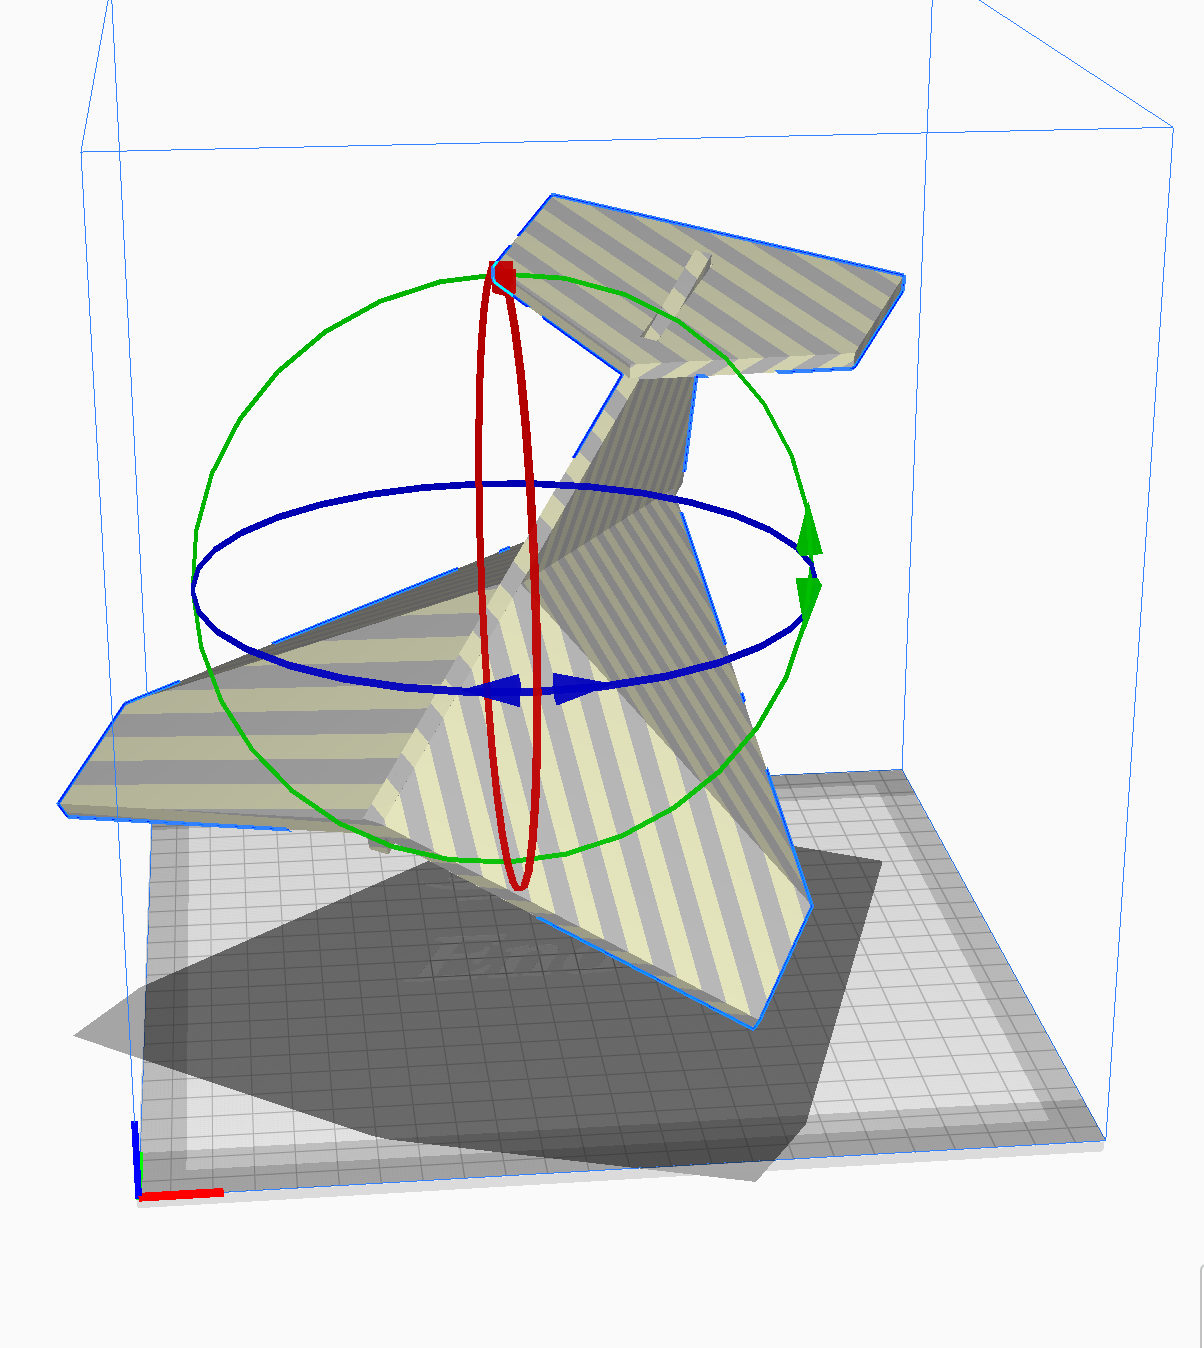
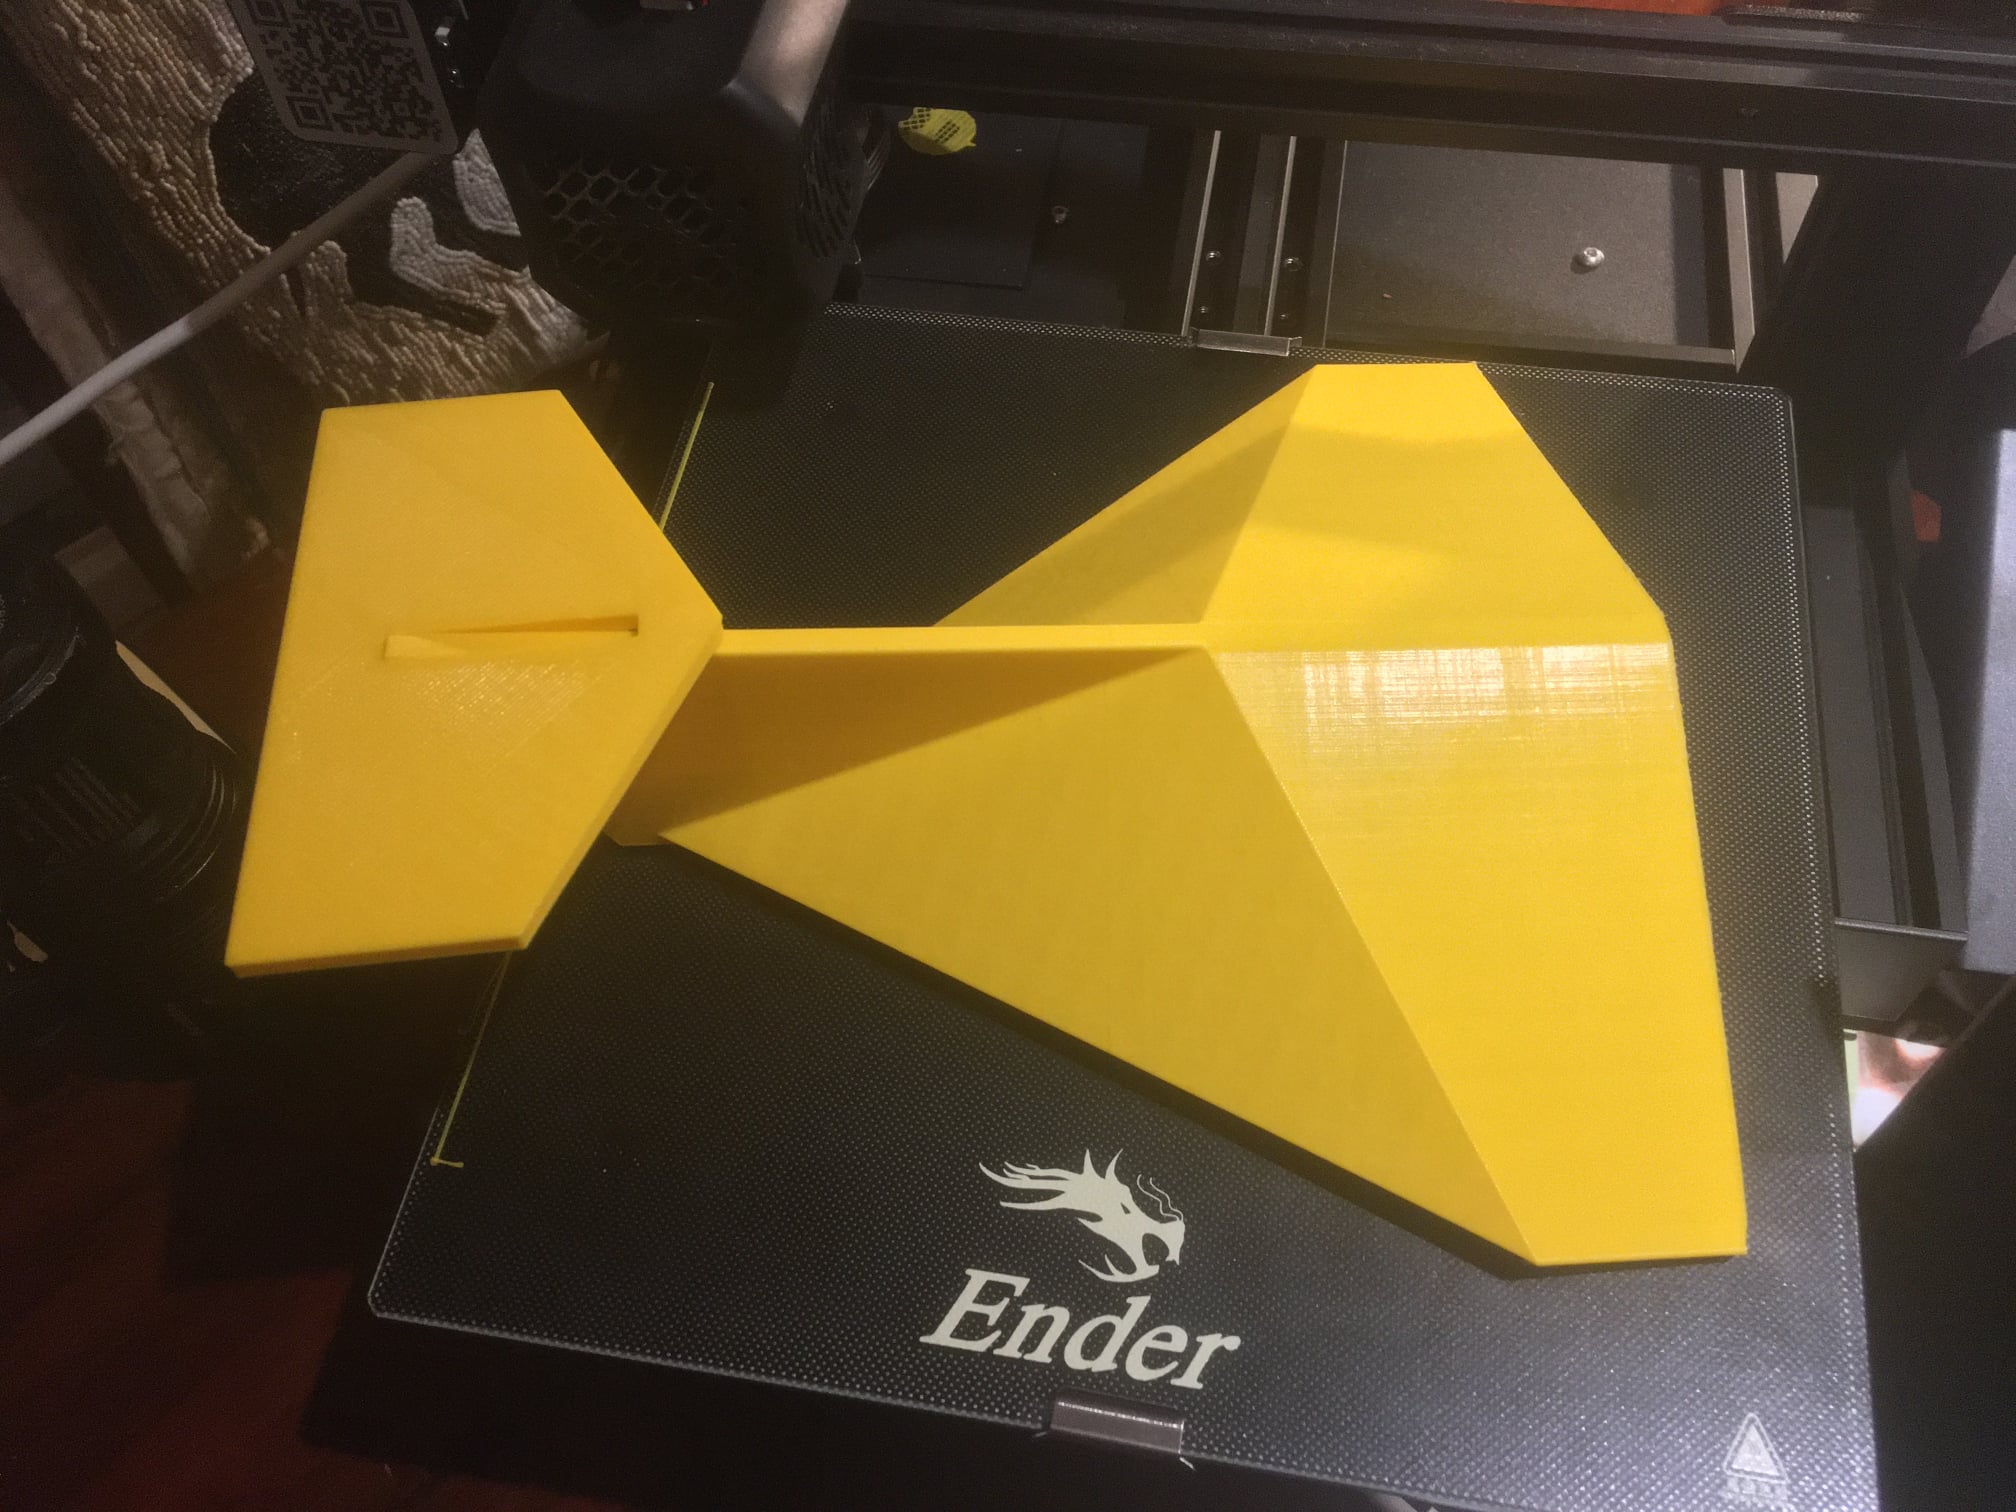
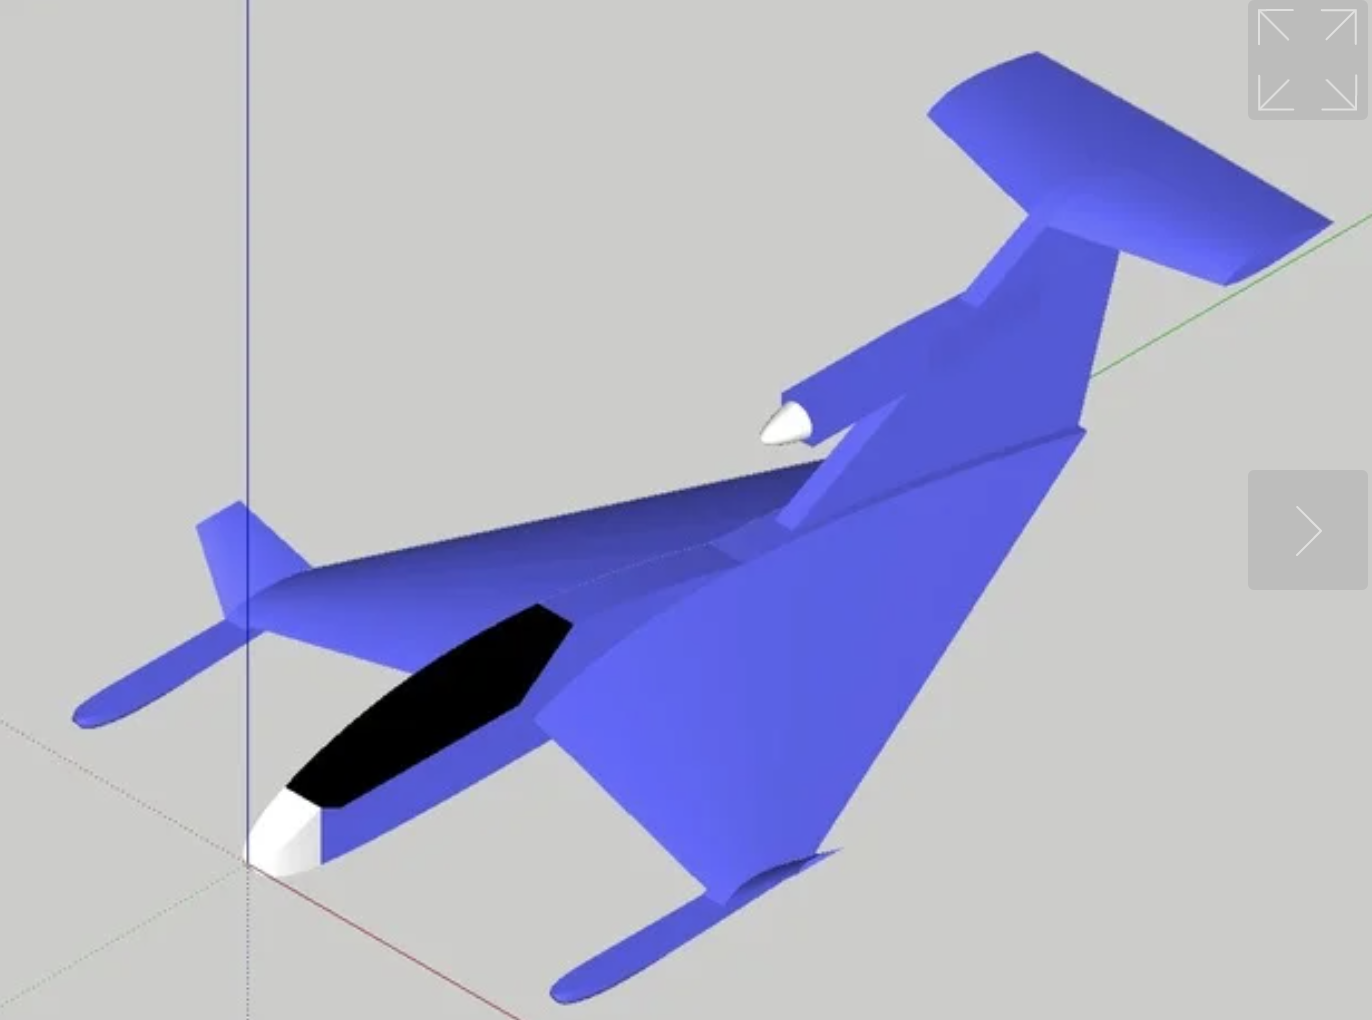
This is a large model (250mm x 210mm) of a Ground Effect Vehicle that I printed for an Aerospace Engineering student using bright yellow PLA plastic.
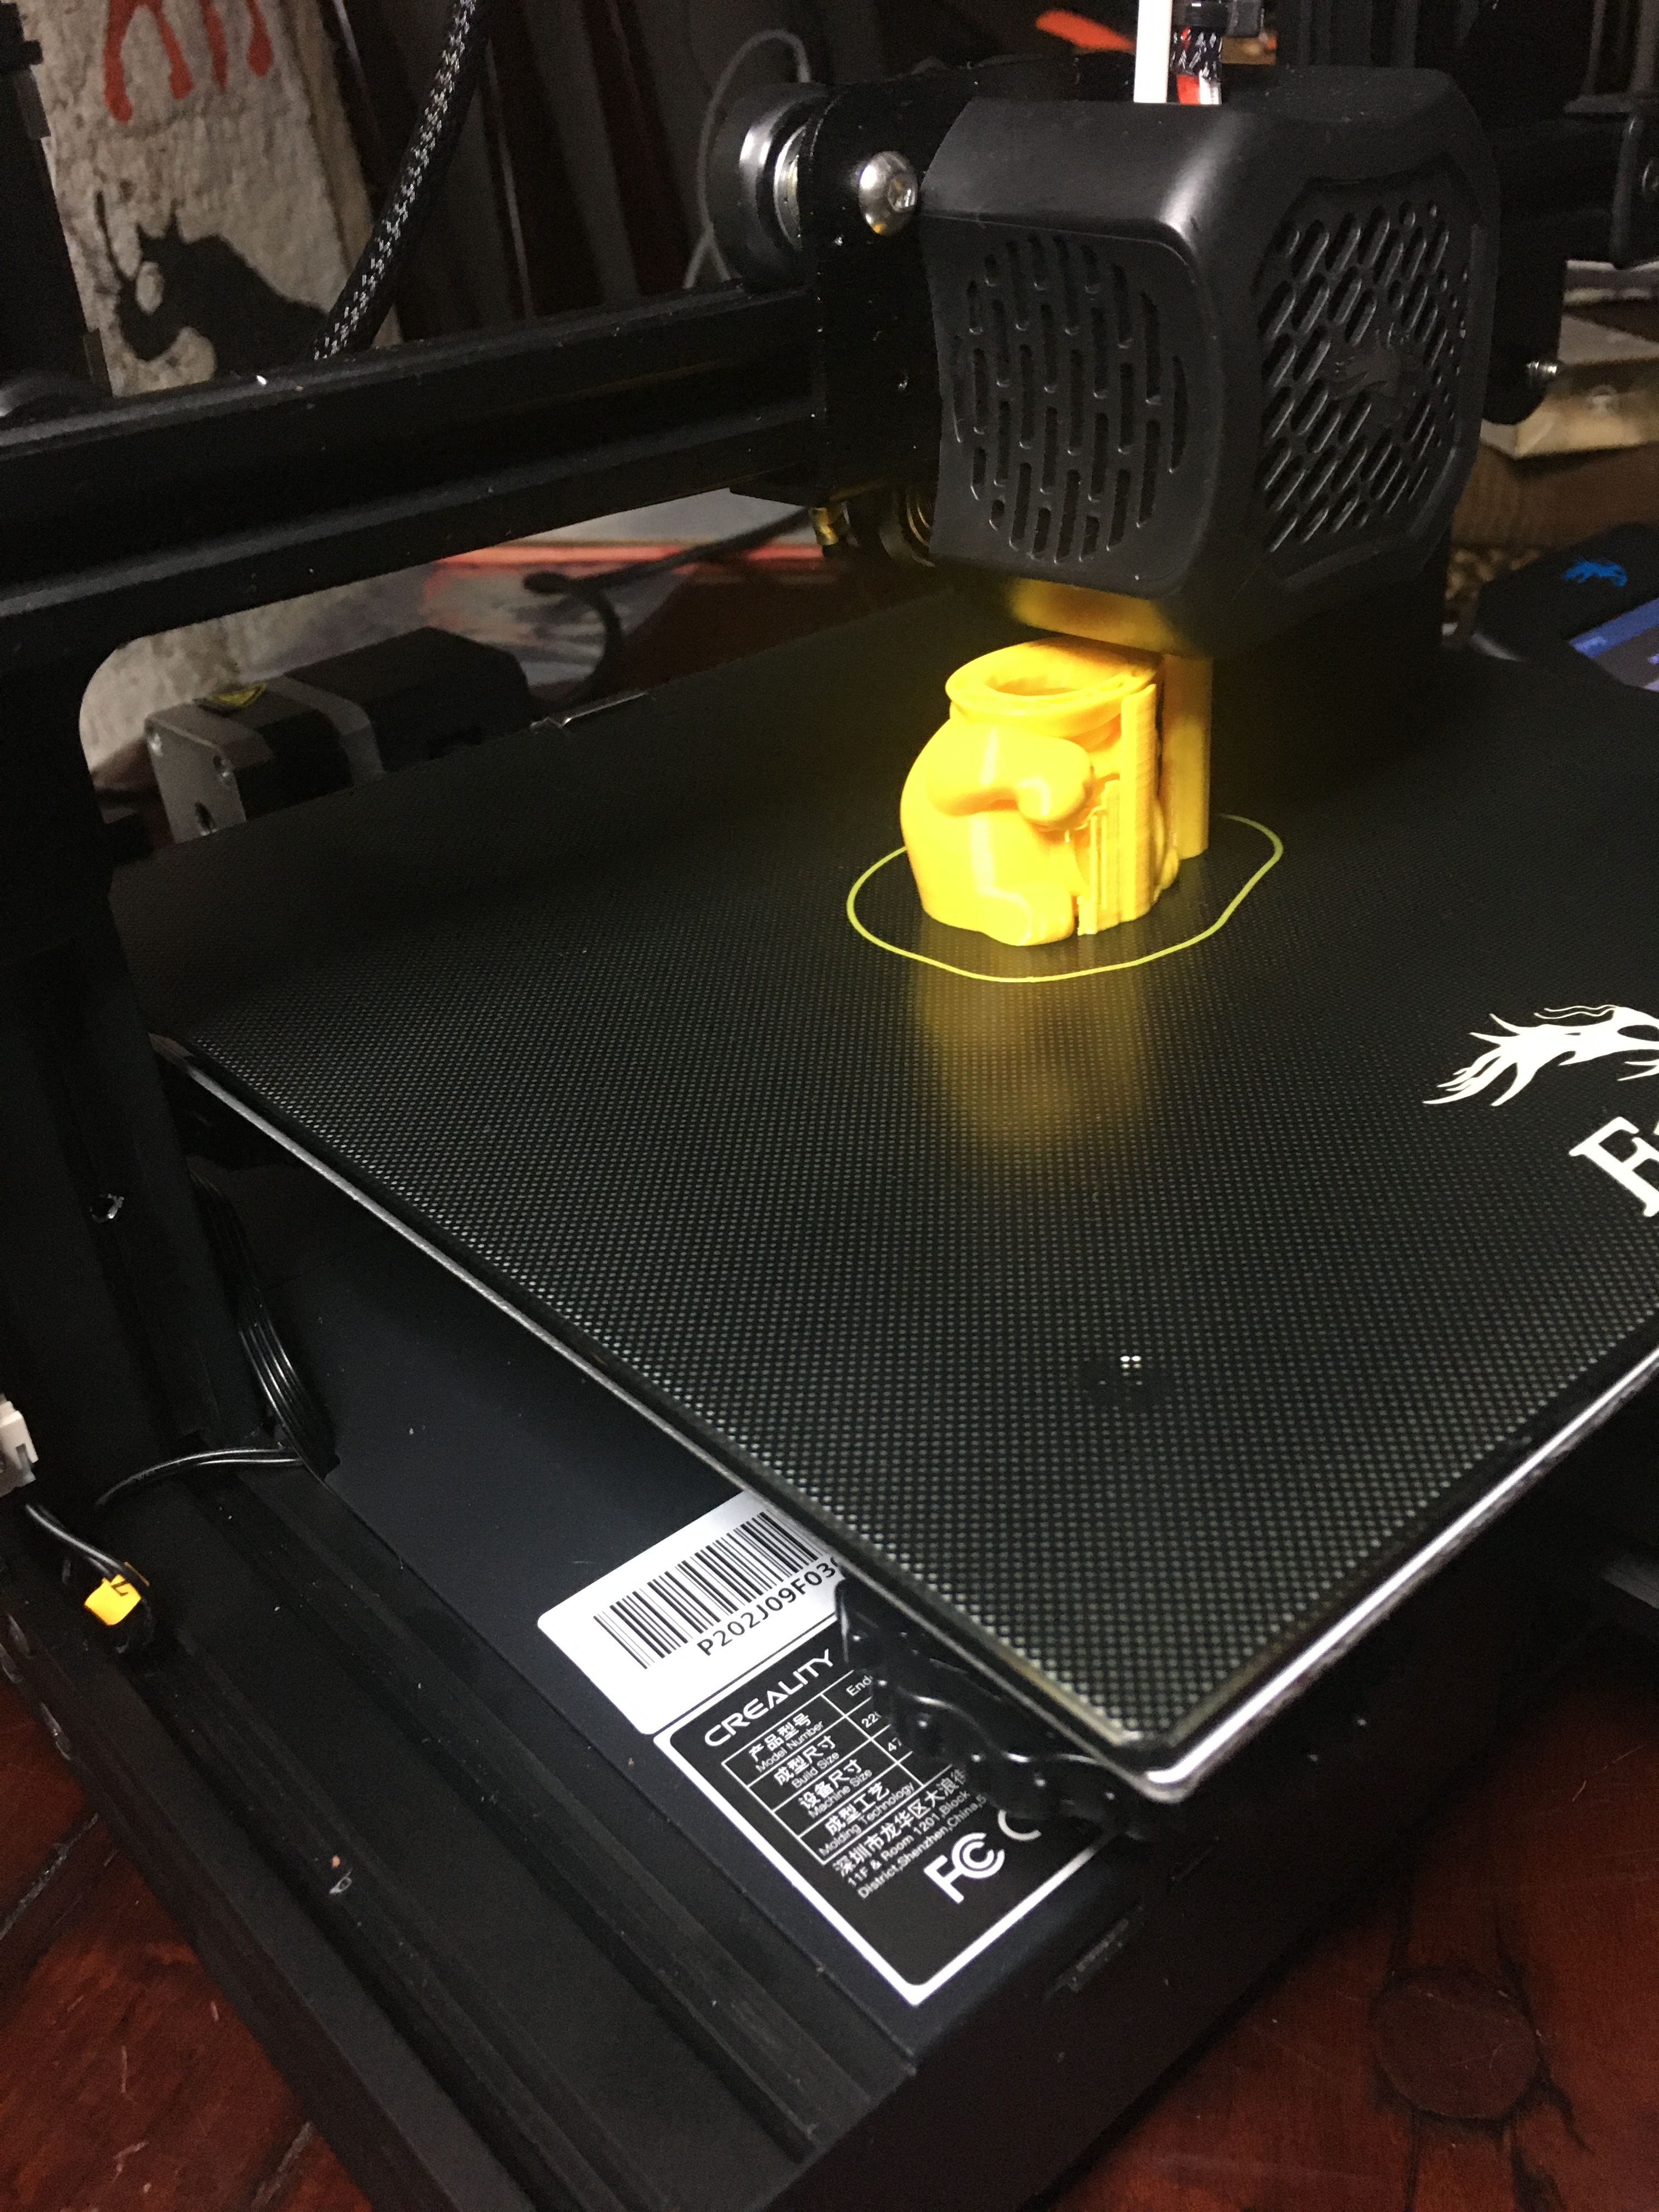
Below is my first test print – a lucky cat!
It comes in a flat parcel so the frame etc are self-build but its not too tricky if you follow this great tutorial:
A little tricky to level the bed first time but it’s worth following Bryans advice and downloading the levelling programme onto the Micro SD card that comes with the printer (in a cute little USB holder). See the pic below for my completed first print:
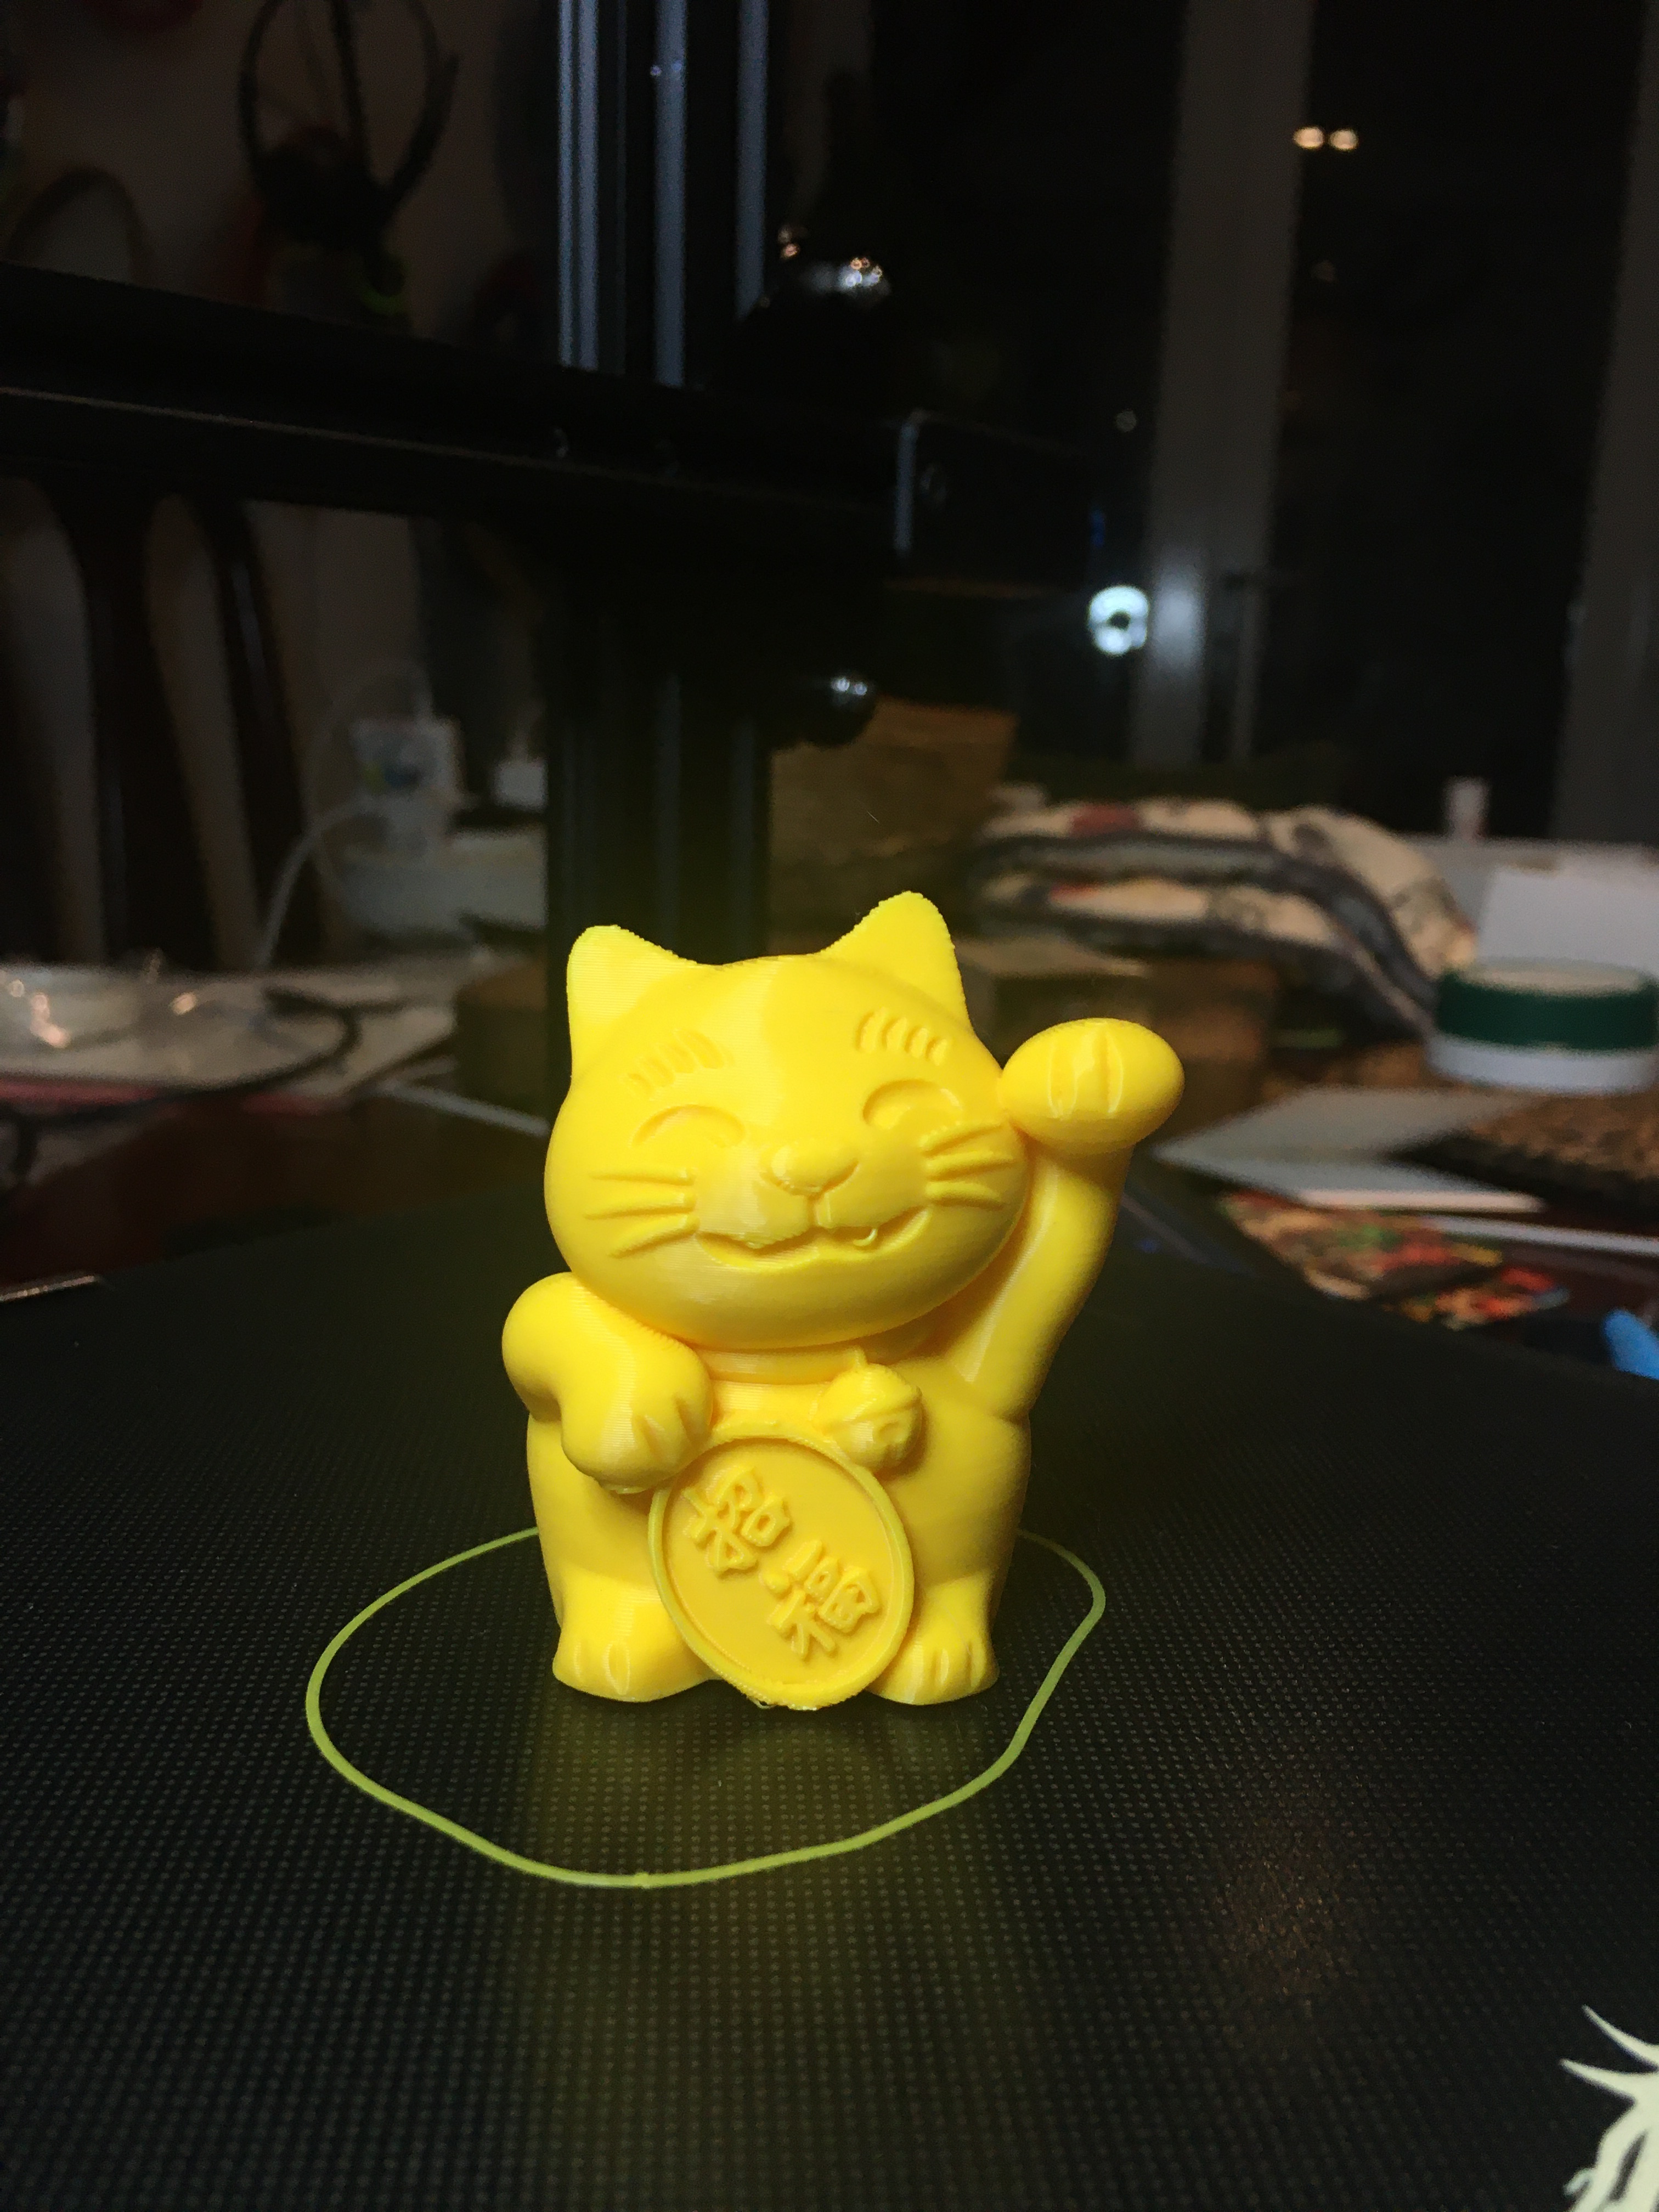
Pretty good! However it took forever! 4hrs from start to finish for a 60mm high/20gms cat! Bryan gives you some temperatures at which to run the printer for your first print (60 degrees bed temp., 200 degrees nozzle temp.) – these worked out OK however check the sticker on the side of the spool of PLA you bought, it should give that particular PLA’s best operating temperature – I was in such a rush to print that I didn’t read the instructions which actually specify 210-235 degrees – however the print still came out OK.)
Since then I have found that it’s best to print a “Temperature Tower” first – this will give you the best nozzle temperature for your individual conditions.
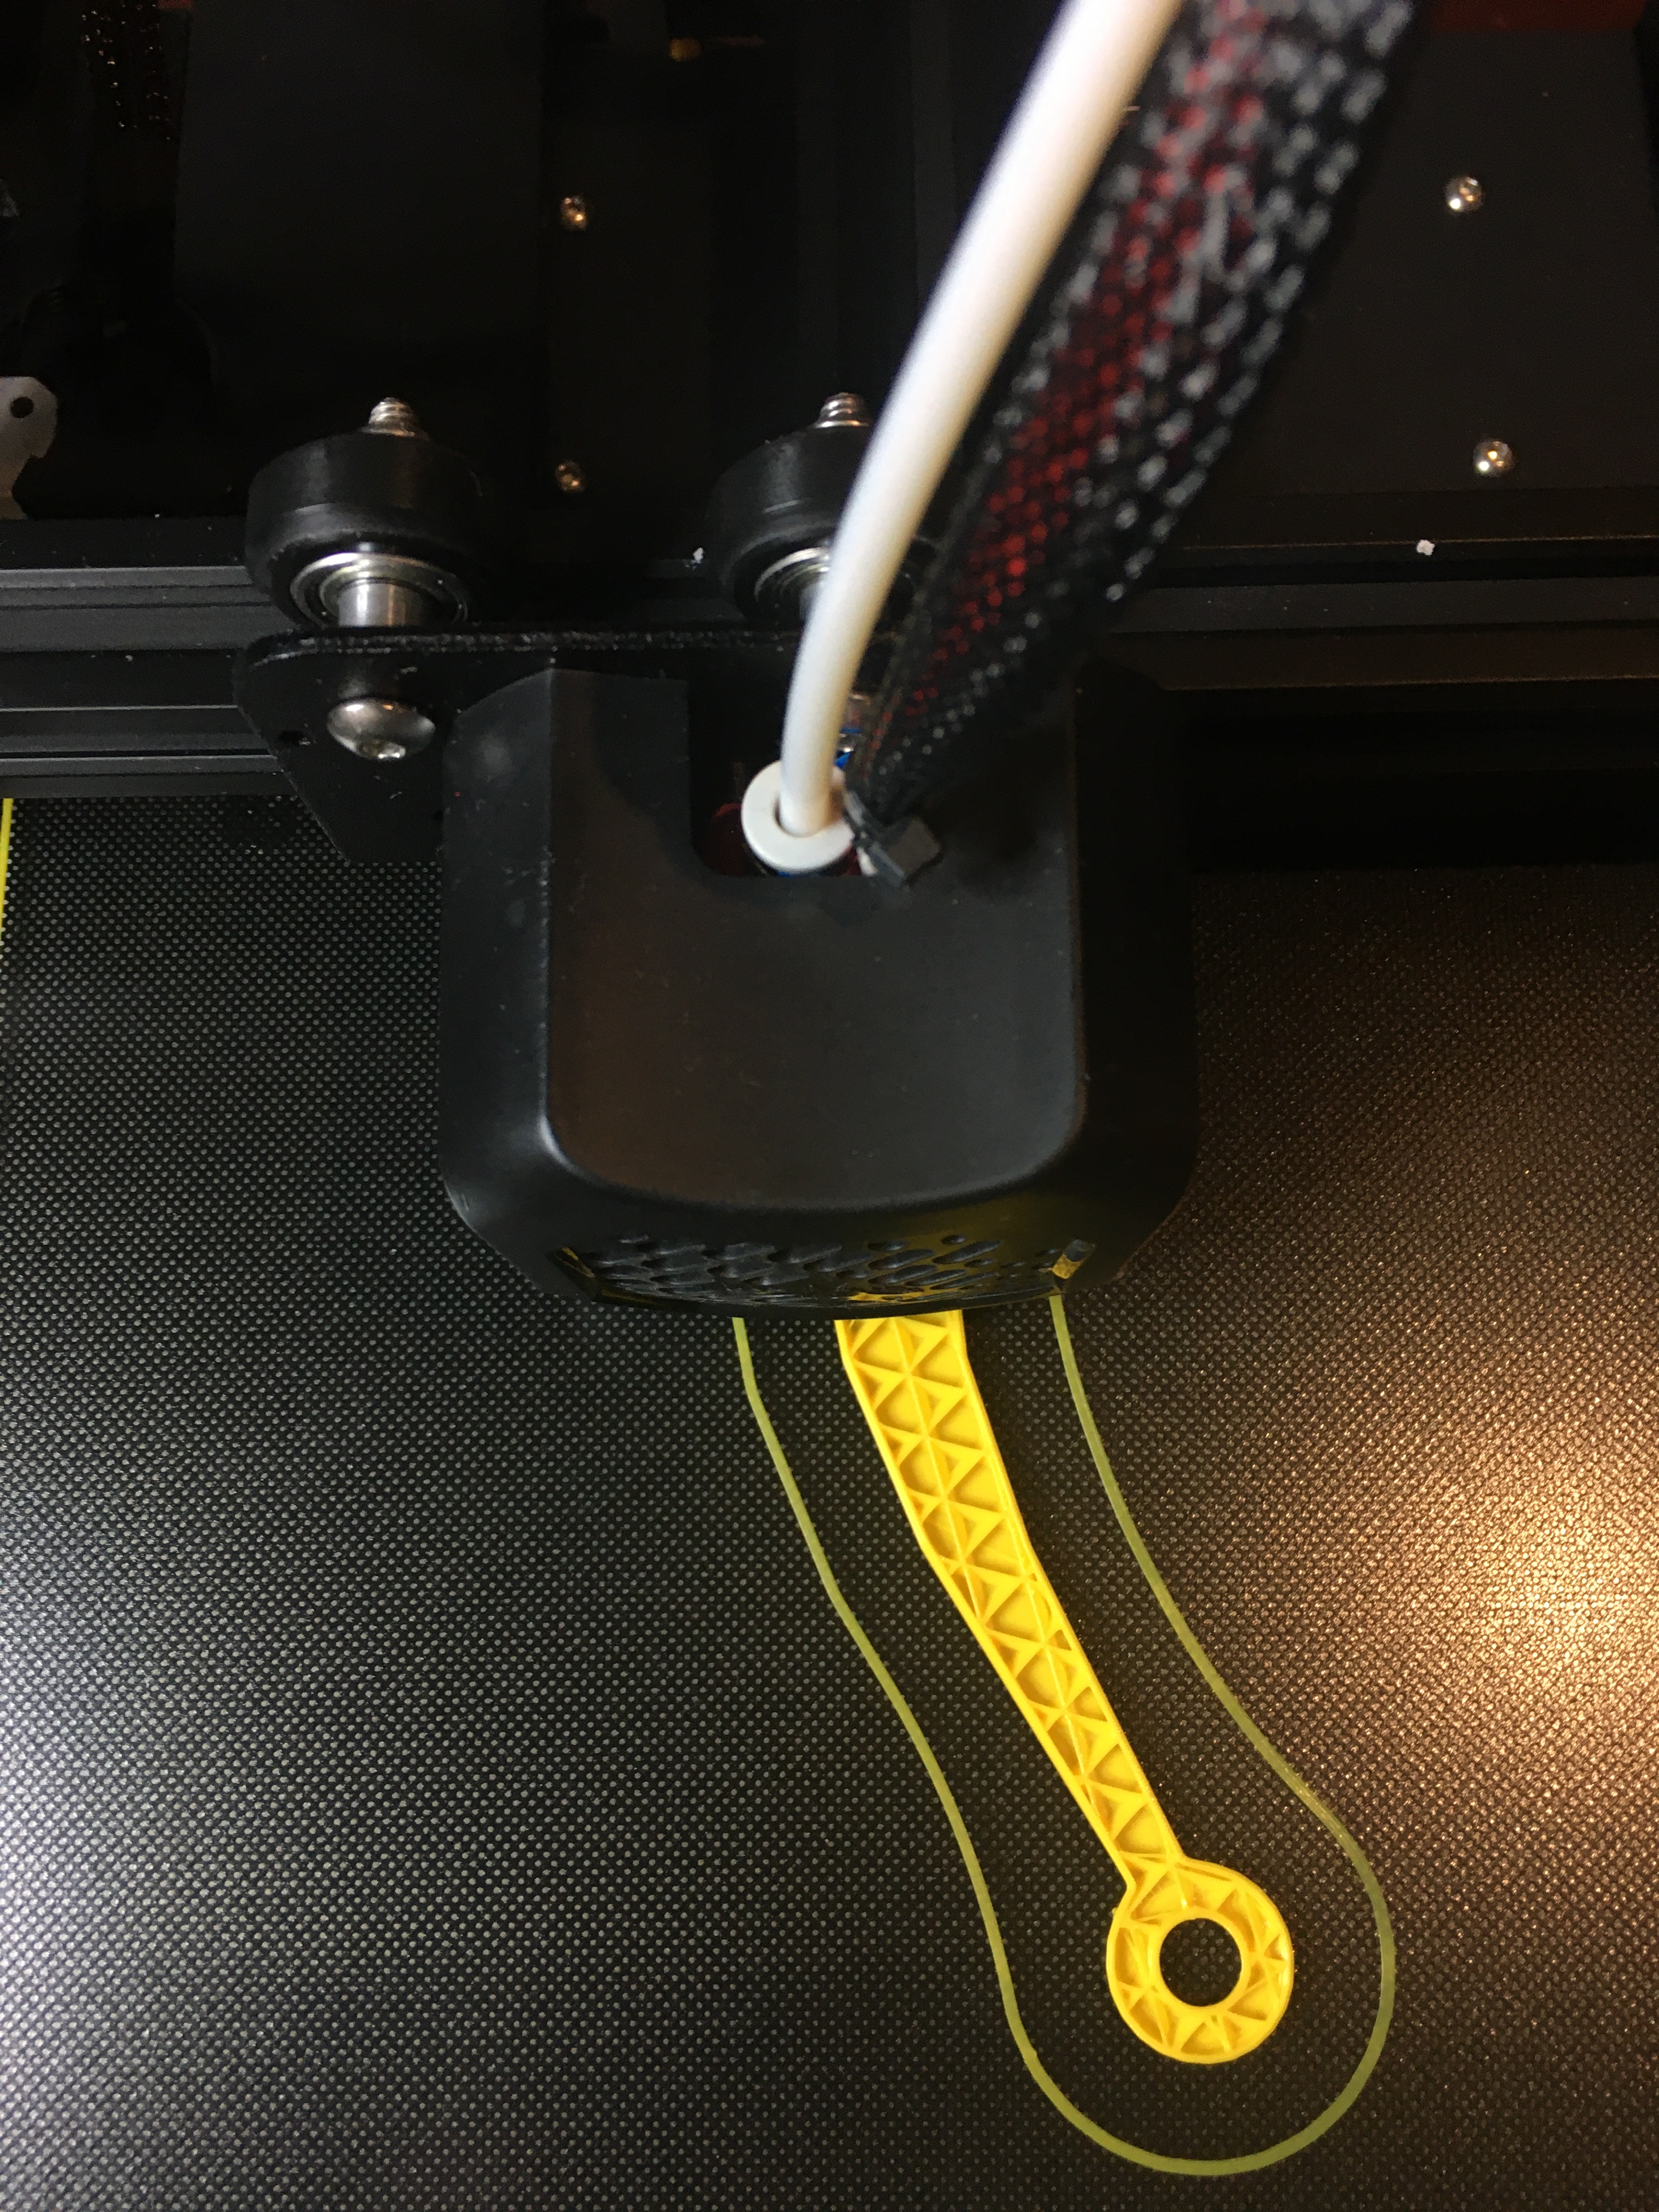
I needed a filament threading guide so found one on Thingiverse and quickly printed it up. This shows the internal structure:
I’d bought a spool of yellow PLA in advance as I new that I’d like to mod the machine straight out of the box. Nothing technical, just appearance mods. Any technical mods (such as changing Bowden tubes etc) as I’ve been advised to wait for a while until I am sure the machine is working OK – this advice comes from Naomi Wu – check out her vids as I’m sure you’ll be impressed.
In order to make full use of a 3D printer, and not just print other people’s designs, you’ll need to learn how to use 3D modelling software.
The first bit of 3D modelling software you will probably use in school will be Google Sketchup:
To learn how to use Sketchup start here:
However, if you want to learn to use a really powerful piece of CAD software try: Autodesk Fusion 360 and students can get a free educational licence:
- AutoDesk Free Software
- Fusion 360 Training (Autodesk)
- Fusion 360 Training (Instructables)
- Fusion 360 Training (STEM)
- Autodesk Inventor Practice Part Drawings (Copyright: Curtis Waguespack)
For teachers (and students): Don’t try and re-invent the wheel as there are lots of free, printable, 3D files here:
These are great to use as research or to help you model your own designs.
OTHER SOFTWARE
Some of the boys I have taught have also been using OnShape with great success:
-
- Instructor Guide
- How to set up your classroom with Standard Education accounts
- Onshape Instructor Forum
- Teacher Forums / Blogs on all things Onshape
- The Onshape Learning Center – Link to self-pace courses and more!
- Onshape Appstore – Simulation, Rendering, CAM & more!
Also, check out this guide on how to import files from Fusion360 to Onshape: https://forum.onshape.com/discussion/4167/importing-from-fusion36
Other industry standards are Solidworks:
